Aloe Vera Care Guide: Complete Instructions for Aloe Barbadensis Miller
Learn how to care for Aloe Vera plants with our comprehensive guide covering light, watering, harvesting gel, and propagating pups for healthy growth.
Quick Care Guide
Bright, indirect light or direct morning sun
Every 2-4 weeks, when soil is completely dry
Low humidity preferred (20-40%)
60-80°F (15-27°C)
Well-draining cactus/succulent mix
1-2 times per year during growing season
Keep away from cats, dogs, and children
Aloe Vera, scientifically known as Aloe Barbadensis Miller, is more than just a plant; it is a resilient companion that has captured the hearts of plant enthusiasts and health aficionados alike. With its strikingly succulent leaves and powerful medicinal properties, Aloe Vera is celebrated for its ability to thrive in a variety of conditions while providing a wealth of benefits. This guide aims to delve deep into the art of caring for this remarkable plant, covering everything from light and watering needs to harvesting its soothing gel and propagating delightful pups.
As a drought-tolerant succulent, Aloe Vera is perfectly suited for those who may not have the greenest of thumbs. Its forgiving nature and low maintenance requirements make it an ideal choice for both beginners and seasoned gardeners. Yet, despite its reputation as an easy-care plant, understanding the specific needs of Aloe Vera is essential for ensuring its vibrant health and longevity. Let’s embark on a journey to explore how to provide the best care for your Aloe Vera plant.
Getting to Know Your Plant
Aloe Vera is a member of the Asphodelaceae family and is known for its thick, fleshy leaves that store water, allowing it to survive in arid conditions. Native to the Arabian Peninsula, this resilient plant has been cultivated for centuries for its medicinal properties. The gel contained within its leaves is renowned for its soothing effects on burns, skin irritations, and even digestive issues. With a growth habit that can reach up to three feet tall, Aloe Vera makes an eye-catching addition to any indoor or outdoor space.
Understanding the unique characteristics of your Aloe Vera plant is the first step in providing the care it deserves. Its leaves can vary in color from deep green to bluish-green, often adorned with subtle white flecks. When cared for properly, Aloe Vera can produce offsets, commonly referred to as pups, which can be propagated to create new plants. This guide will arm you with the knowledge you need to keep your Aloe Vera thriving, healthy, and ready to provide its many benefits.
Light Requirements
Light is a critical component in the care of Aloe Vera, as it directly influences the plant’s growth and overall health. Aloe Vera thrives in bright, indirect light, making it well-suited for sunny windowsills or areas where it can bask in the morning sun. Ideally, this plant should receive at least six hours of sunlight each day. While it can tolerate direct sunlight, especially in the morning, it’s essential to acclimate your Aloe gradually, as sudden exposure to intense light can lead to sunburn and damage.
If you notice your Aloe Vera stretching towards the light or exhibiting pale, elongated leaves, it may not be receiving enough sunlight. Conversely, browning leaf tips or a reddish hue can indicate that the plant has been exposed to too much direct sunlight. Striking a balance is key, and observing your plant’s behavior will guide you in adjusting its light exposure to maintain optimal health.
Watering Guidelines
Understanding when and how to water your Aloe Vera is crucial for its well-being. This succulent is adapted to survive in dry conditions, so overwatering is one of the most common mistakes made by plant caregivers. During the growing season, typically spring and summer, you should water your Aloe Vera every two to three weeks. Before watering, always check the soil moisture; it should be completely dry. In winter, when the plant enters a dormant phase, reduce watering to once a month, as it requires even less moisture during this time.
When watering, ensure that the water thoroughly soaks the soil, allowing excess to drain out of the bottom of the pot. This drainage is vital, as standing water can lead to root rot, a serious condition that can threaten the life of your plant. Additionally, using room-temperature water is ideal, as it is less shocking to the roots. Observing your Aloe’s growth and adjusting your watering schedule accordingly ensures that your plant remains healthy and vibrant.
Soil and Potting Requirements
The foundation of your Aloe Vera’s health lies in the soil it is planted in. A well-draining cactus or succulent mix is optimal for Aloe, as it mimics the plant’s native environment. This type of soil allows excess moisture to escape, preventing the roots from sitting in water, which can lead to rot. If you prefer to create your own mix, combining regular potting soil with sand or perlite can enhance drainage and aeration.
When it comes to potting your Aloe Vera, choose a container with drainage holes to facilitate proper water flow. Terracotta pots are an excellent option, as they allow for evaporation, further reducing the risk of overwatering. As your Aloe grows, you may need to repot it every couple of years to provide fresh soil and more space for its roots. When repotting, handle the plant gently, especially around the roots, to minimize stress and promote healthy growth.
Temperature and Humidity
Aloe Vera plants flourish in temperatures ranging from 60 to 80 degrees Fahrenheit (15 to 27 degrees Celsius). They are sensitive to extreme temperatures, so keeping them away from drafts, air conditioning vents, or heaters will ensure their comfort. Sudden temperature drops below 50 degrees Fahrenheit (10 degrees Celsius) can be detrimental to your Aloe, potentially causing damage to its leaves.
In terms of humidity, Aloe Vera prefers a dry environment with low humidity levels, ideally between 20 and 40 percent. This makes it well-suited for typical indoor conditions, where humidity levels are often controlled. If you live in a particularly humid area, ensuring that your Aloe has adequate airflow can help mitigate any potential issues related to excess moisture. By maintaining the right temperature and humidity levels, you can create an optimal environment for your Aloe Vera to thrive.
Fertilizing Schedule
While Aloe Vera plants do not require frequent fertilization, providing the right nutrients at the right time can encourage robust growth and vitality. During the growing season, which typically spans from spring to early fall, you can fertilize your Aloe once or twice. Using a diluted, balanced liquid fertilizer specifically formulated for succulents or cacti is ideal. Over-fertilizing can lead to salt buildup in the soil, which can harm the plant, so it’s best to err on the side of caution.
If you notice that your plant is growing slowly or the leaf color appears dull, it may benefit from a light application of fertilizer. However, if your Aloe appears healthy and vibrant, you can forgo fertilizing altogether. In the fall and winter, when the plant is dormant, it’s best to refrain from fertilizing, as it won’t be actively using nutrients during this time.
Propagation Methods
One of the most rewarding aspects of caring for Aloe Vera is the ability to propagate new plants from the offsets, or pups, that grow alongside the parent plant. These pups develop their own roots and can be carefully removed when they have reached a size of at least a few inches tall. Repotting pups not only helps maintain the health of the mother plant but also allows you to share the joy of Aloe with friends and family.
When you are ready to propagate, gently remove the pup from the parent plant, ensuring that you do not damage the roots. Allow the cut end of the pup to dry for about 24 hours before planting it in a well-draining soil mix. This drying period helps to prevent rot by allowing the cut to form a protective callus. After planting, water sparingly until the pup establishes itself in its new pot. With proper care, these new plants will flourish and bring joy for years to come.
Common Problems and Solutions
Even the hardiest of plants can encounter issues, and Aloe Vera is no exception. One of the most common problems is overwatering, which can lead to root rot. Signs of this issue include yellowing leaves, mushy stems, or a foul odor from the soil. If you suspect root rot, it’s essential to act quickly by removing the plant from its pot, cutting away any damaged roots, and repotting it in fresh, dry soil.
Another issue that may affect your Aloe is pests, such as mealybugs or aphids. These pests can sap the plant’s vitality, leading to stunted growth. To combat them, gently wipe the affected areas with a cotton swab dipped in rubbing alcohol. Ensuring your plant has adequate airflow and is not overcrowded can also help prevent pest infestations.
Additionally, if you notice that your Aloe Vera’s leaves are browning or developing spots, it could be a sign of too much direct sunlight or nutritional deficiencies. Adjusting its light exposure and evaluating your fertilizing routine can help resolve these issues promptly. By being attentive to your plant’s needs and addressing problems as they arise, you can ensure your Aloe Vera remains healthy and vibrant.
Seasonal Care Adjustments
As the seasons change, so too do the care requirements for your Aloe Vera. During the spring and summer months, when the plant is actively growing, it requires more frequent watering and the occasional dose of fertilizer. Take advantage of the longer daylight hours to ensure your Aloe gets enough light to thrive.
As autumn approaches and temperatures begin to drop, you should gradually reduce the frequency of watering. This transition will prepare your plant for its dormant winter phase, where it requires minimal care. In winter, keep your Aloe in a warm, well-lit location, and be cautious with watering, as the plant’s metabolism slows down significantly.
Monitoring your Aloe Vera throughout the seasons will help you adapt to its changing needs. With the right adjustments, your plant will not only survive but thrive year-round, providing you with its many benefits. By following this comprehensive care guide, you can enjoy the beauty and health of Aloe Vera in your home or garden, creating a thriving environment for this remarkable plant to flourish.
Safety Note: Aloe Vera contains compounds that are toxic to cats, dogs, and humans if ingested. Keep plants out of reach of curious pets and small children. Contact a veterinarian or poison control center if ingestion occurs.
Frequently Asked Questions
How often should I water my Aloe Vera plant? ▼
Water every 2-3 weeks during growing season, allowing soil to dry completely between waterings. In winter, water even less frequently, sometimes only once per month.
Can I harvest Aloe Vera gel from my plant? ▼
Yes, you can harvest gel from mature outer leaves. Cut leaves at the base, let them drain, then extract the clear gel. Only harvest from healthy, mature plants.
How much sunlight does Aloe Vera need? ▼
Aloe Vera needs bright, indirect light or 6+ hours of direct sunlight. It can handle some direct sun but may need gradual acclimation to prevent sunburn.
How do I propagate Aloe Vera pups? ▼
Remove pups (offsets) that have developed their own roots during repotting. Let cuts dry for 24 hours, then plant in well-draining soil.
Are Aloe Vera plants safe for pets? ▼
No, Aloe Vera contains compounds that are toxic to cats and dogs if ingested. The gel can cause vomiting and diarrhea in pets.
Explore Related Topics
Was this guide helpful?
Your input helps us improve our guides.
How can we improve this guide?
Similar Plants You Might Like

Aglaonema Silver Bay Care Guide: Complete Instructions for Chinese Evergreen Beauty
Learn how to care for Aglaonema Silver Bay with our comprehensive guide covering light, watering, humidity, and maintaining stunning silver variegation in this easy-care houseplant.
Easy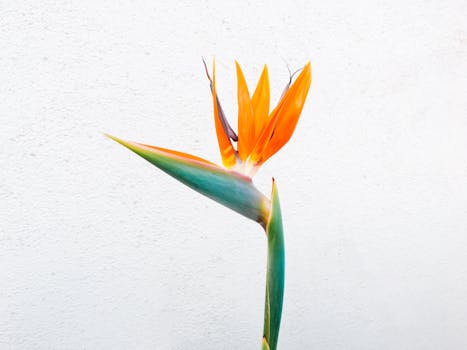
Bird of Paradise Care Guide: Complete Growing Instructions for Strelitzia
Learn how to care for Bird of Paradise (Strelitzia) with our comprehensive guide covering light, watering, humidity, pruning, and troubleshooting for stunning tropical growth.
Moderate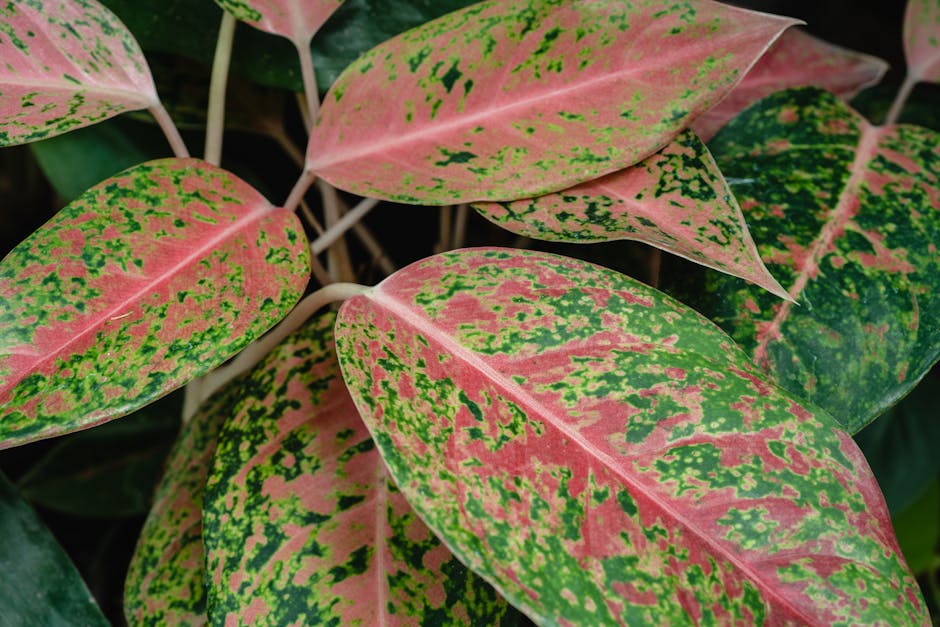
Chinese Evergreen Care Guide: Complete Aglaonema Instructions
Learn comprehensive Chinese Evergreen (Aglaonema) care including light tolerance, watering, colorful varieties, and troubleshooting for this adaptable houseplant.
Easy